Organizations
Each organization represents a separate chatting space, such as a workspace in Slack or a tenant in Teams.
The page below explains how to manage the state of your organization and its members, including new member invitations.
In case a new organization needs to be created (e.g. to represent the chatting platform of a daughter company or a business division), it can be done easily by following these steps.
Important
Please keep in mind that, in order to start connecting chats together, you can invite members of organizations you don't manage to your universal channels.
It's NOT necessary, and not possible, to create a new organization for a chatting space that was already signed up for Pritell.
Member privilages
The following sections list the actions that can be completed by each type of organization member.
Organization owner
Organization owner's can complete the following actions:
-
Create a universal channel.
-
Request a chat to be connected to a UC.
-
Approve requested chats that belong to the owner's organization.
-
Invite new members to the organization.
Organization user
Organization members (non-owners) can complete the following actions:
-
Create a universal channel.
-
Request a chat to be connected to a UC.
Organization management
The following sections outline the processes that modify existing organizations or create new ones.
Editing your organization's name
The steps required to change the name of an organization are described below.
Please keep in mind that the following steps will modify the name of the currently active organization.
To switch to a different organization, follow the steps described here.
-
You'll see a person icon with a gear; click that in the top right corner of your screen.

-
Select
Your organizationfrom the drop-down menu.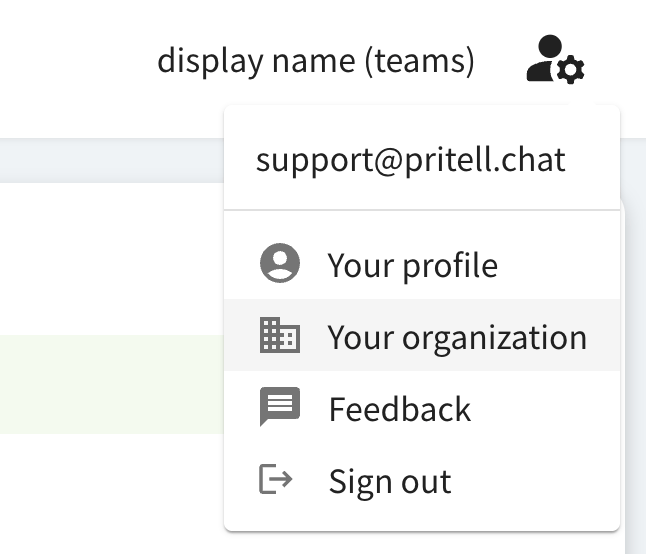
-
Click on
Edit organization informationto activate the name editing field.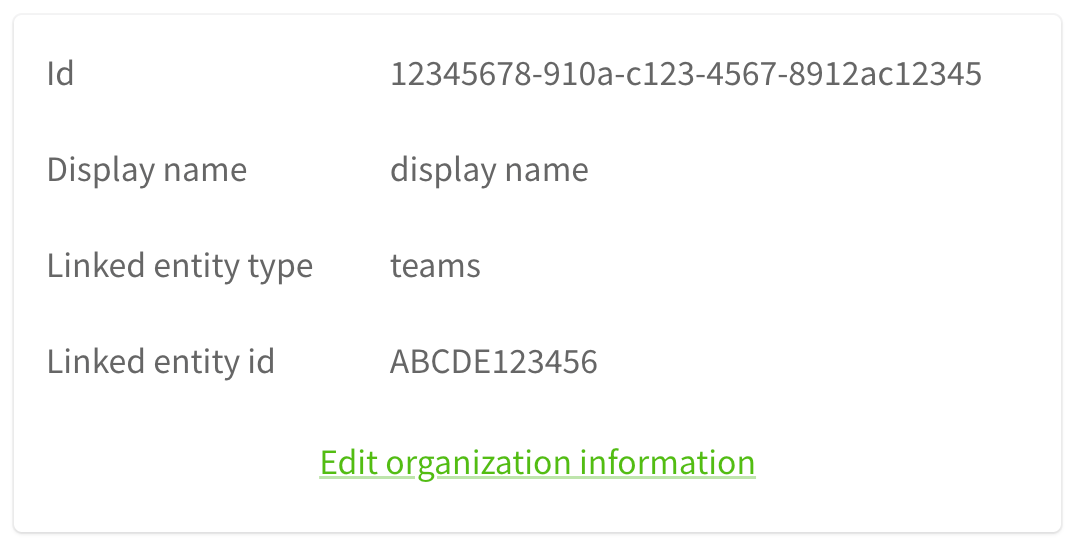
-
Type a new name in the editing field next to
Display name.
-
Click on
Save
-
If successful, the new name will be displayed next to
Display name.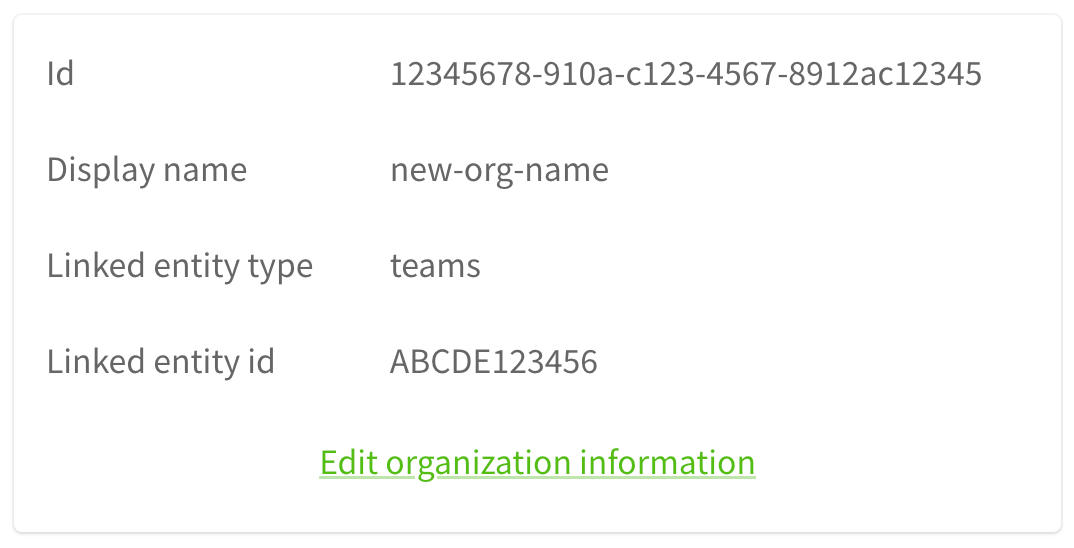
Creating a new organization
The steps below describe the process of creating a new organization and verifying it on the target platform.
-
You'll see a person icon with a gear; click that in the top right corner of your screen.
-
Select
Your organizationfrom the drop-down menu. -
Click on the
Createbutton right above the info box.
-
Input the name of the new organization in the
Organization namebox. -
Select the platform that represents the new organization.
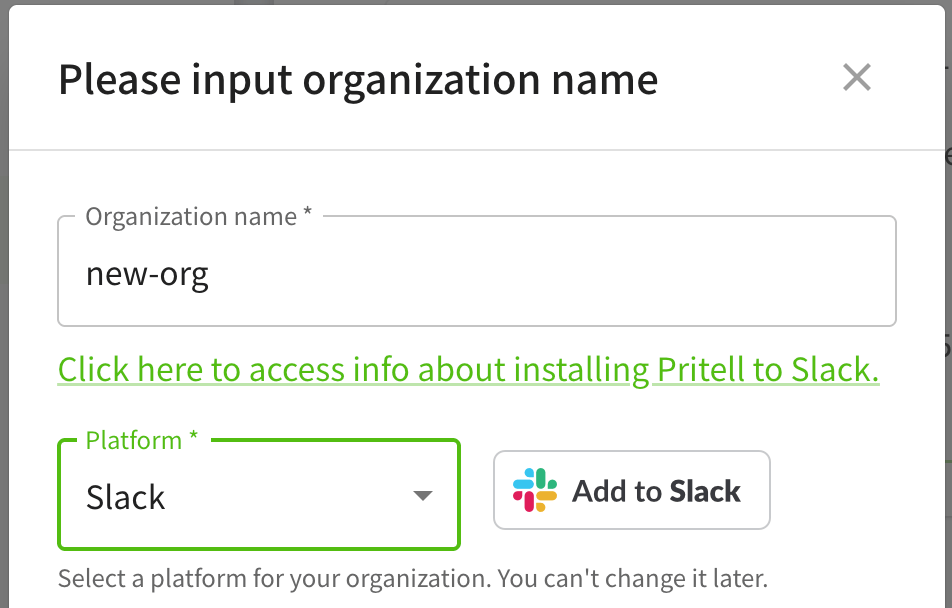
-
Please follow the instructions that match your platform to install Pritell:
-
After installing and entering the verification code in the
App verification codebox, clickCreate.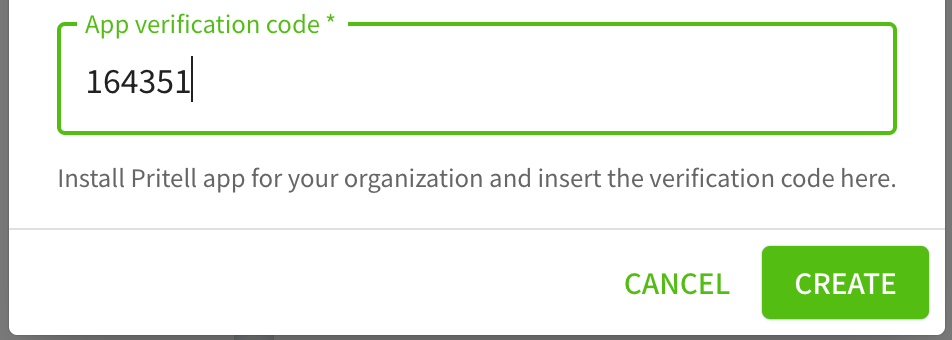
-
If successful, the popup will simply close.
You will now be able to switch to the new organization.
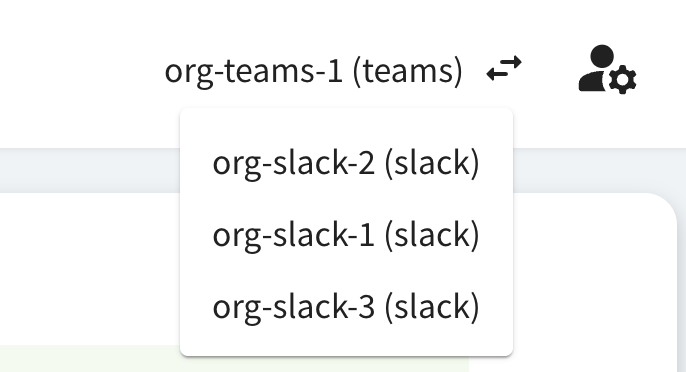
Switching active organization
-
Click the organization name in the top right.

-
Choose the organization you want to switch to from the dropdown menu.
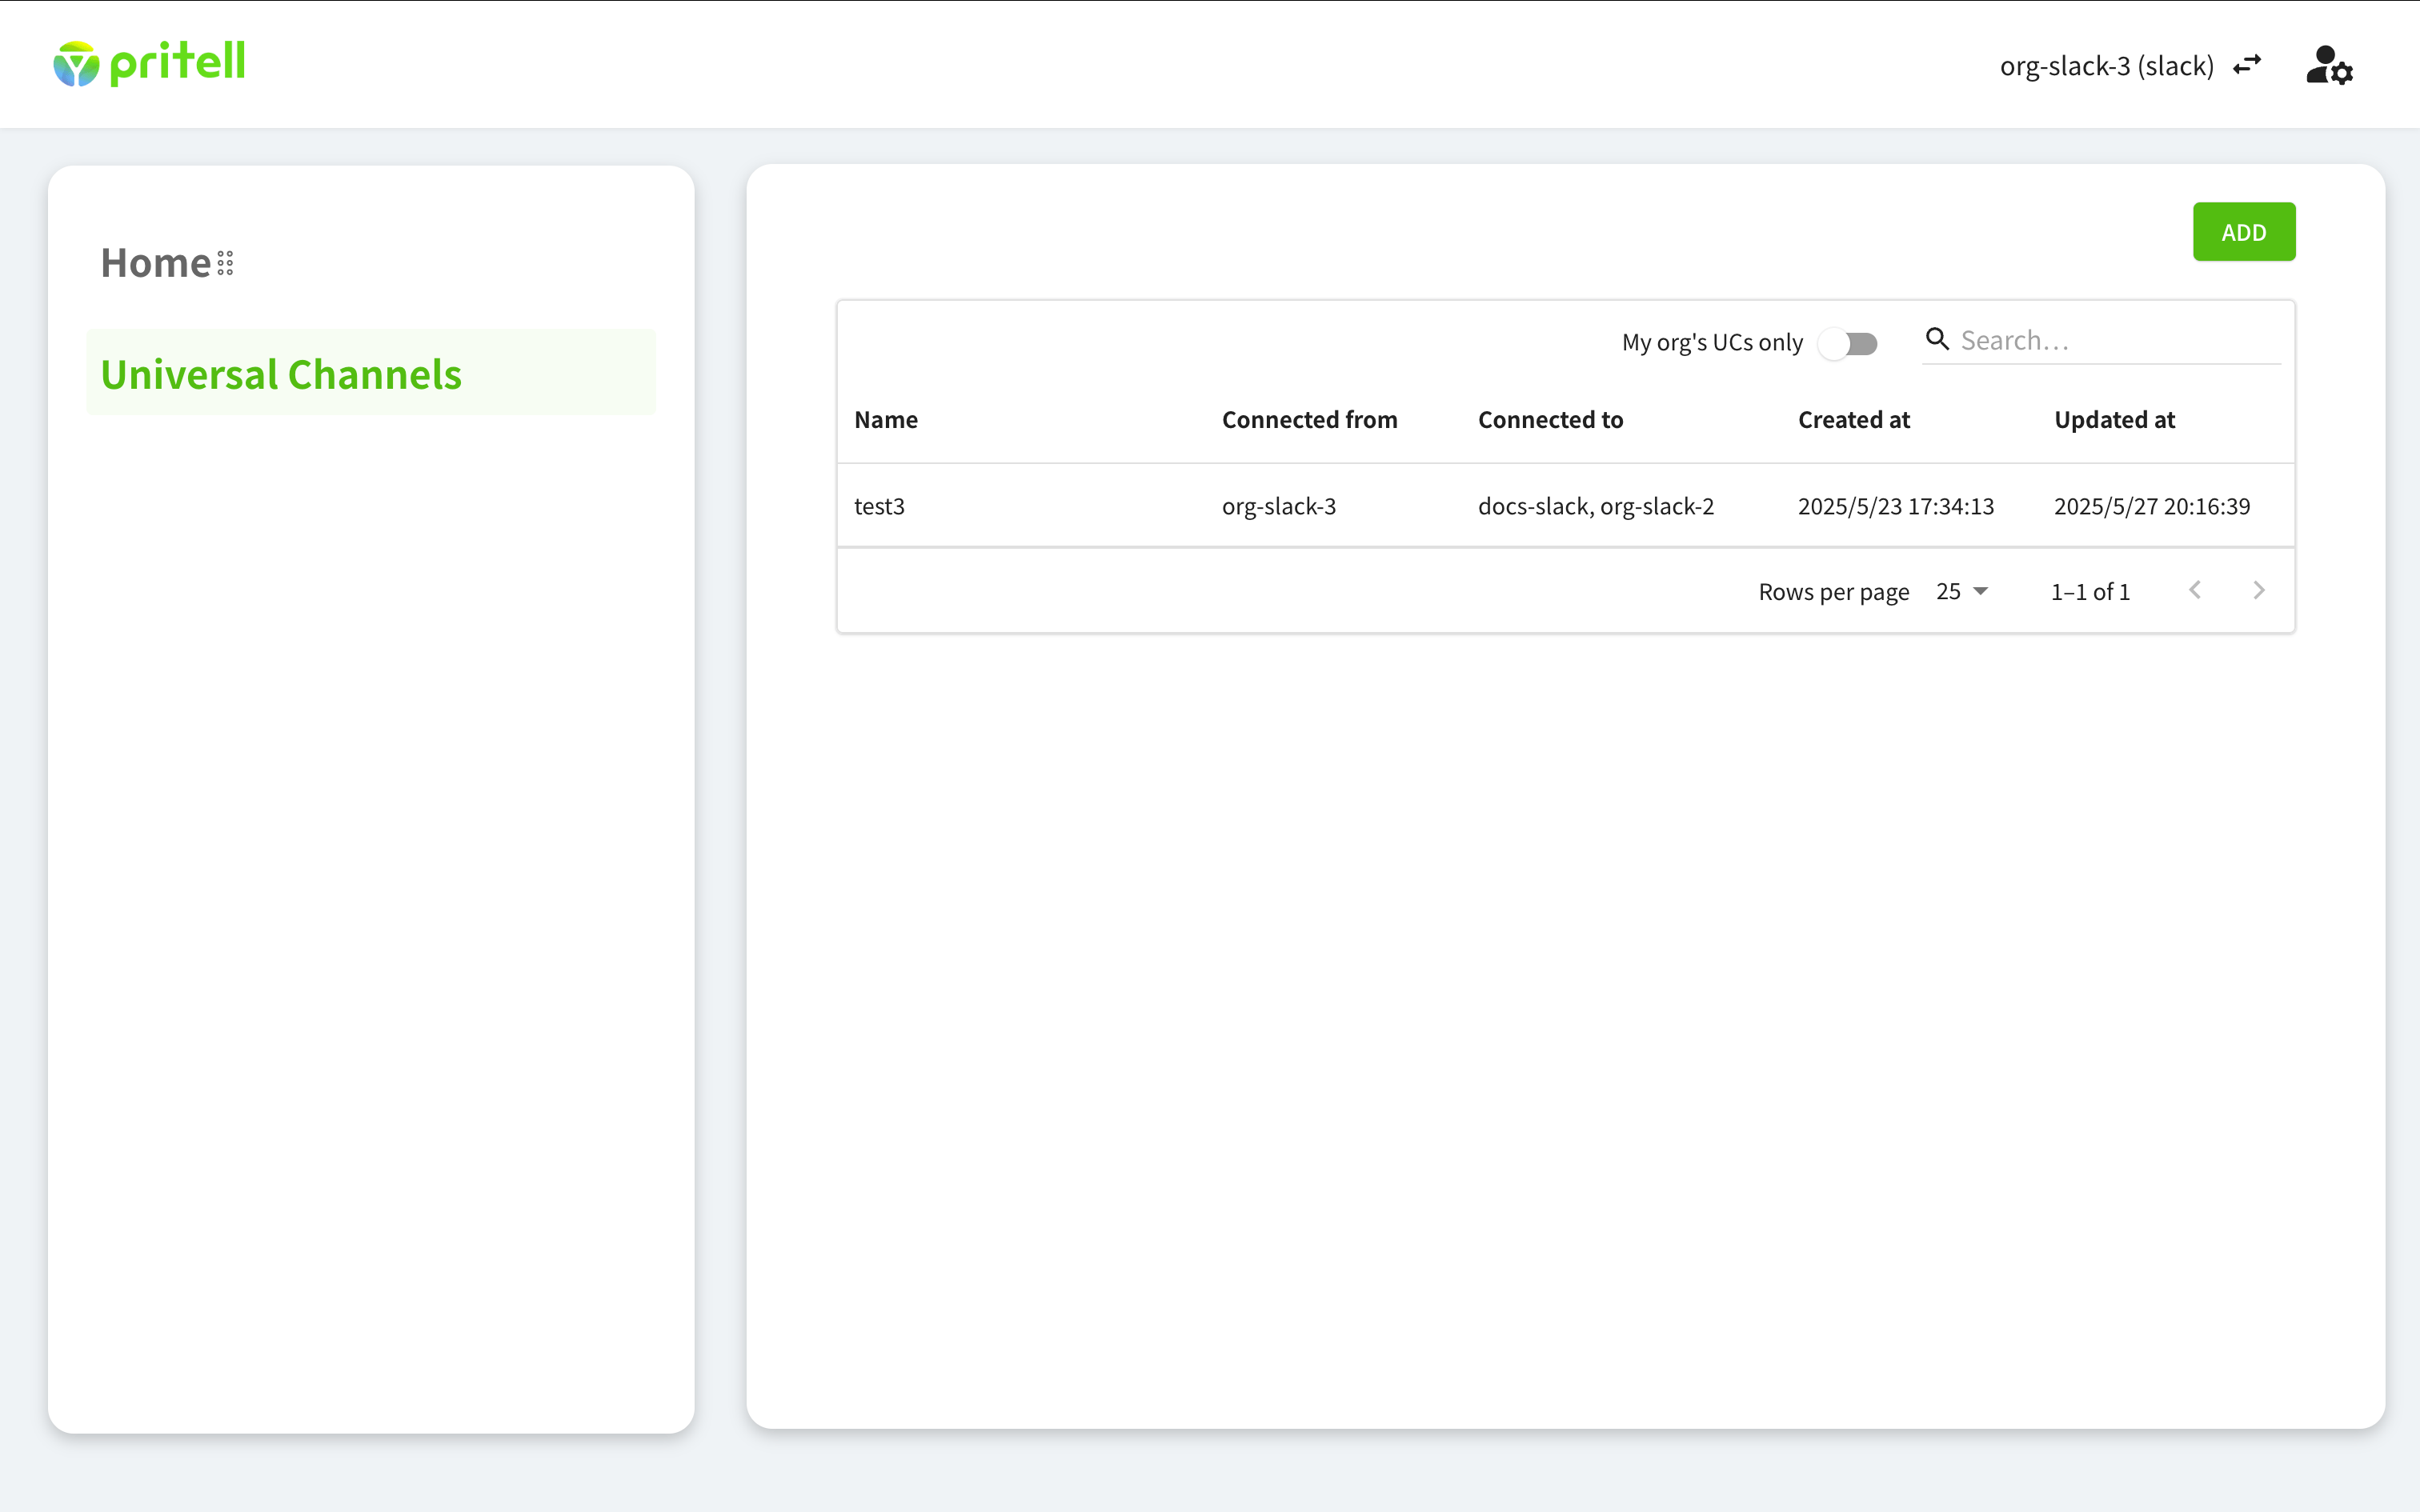
-
You'll see the Universal Channel page for your new organization.
Member management
The sections below describe how users can be managed in Pritell.
Inviting new users to Pritell
Steps for the org. inviter
The invitation must be sent out by the owner of the organization.
-
You'll see a person icon with a gear; click that in the top right corner of your screen.
-
Select
Your organizationfrom the drop-down menu. -
On the lefthand sidebar, click on
Members.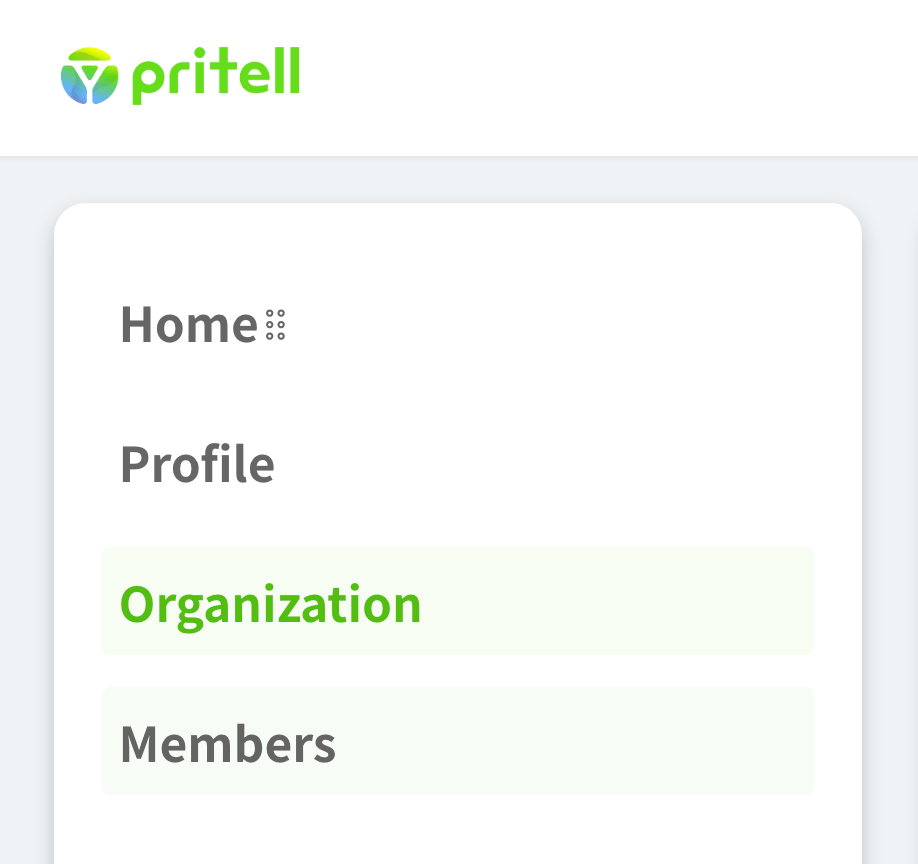
-
In the
Joinedsection, click onInvite
-
In the pop-up, input the e-mail of the person you'd like to invite.
-
Click on
Invite.
-
The invitee will receive an invitation e-mail and will need to follow these steps.
Steps for the org. invitee
Please ask the recipient of the invitation to follow the steps below.
-
Open the invitation e-mail.
-
Click on
Accept Invite.
-
Type your password into
PasswordandVerify Passwordboxes.
-
Read and accept the privacy policy.
-
Click on
Create Account.
You can now proceed to join universal channels and request linked channels.
Set user as admin in universal channels
Universal channel admins can invite more users to the same universal channel.
-
Select
Universal Channelson the lefthand sidebar.
-
Select the universal channel.

-
Click on the e-mail of the member you'd like to promote into admin status.
-
Click on
Set admin.
-
In the popup, type the e-mail of the member you picked for confirmation.
-
Click on
Set admin.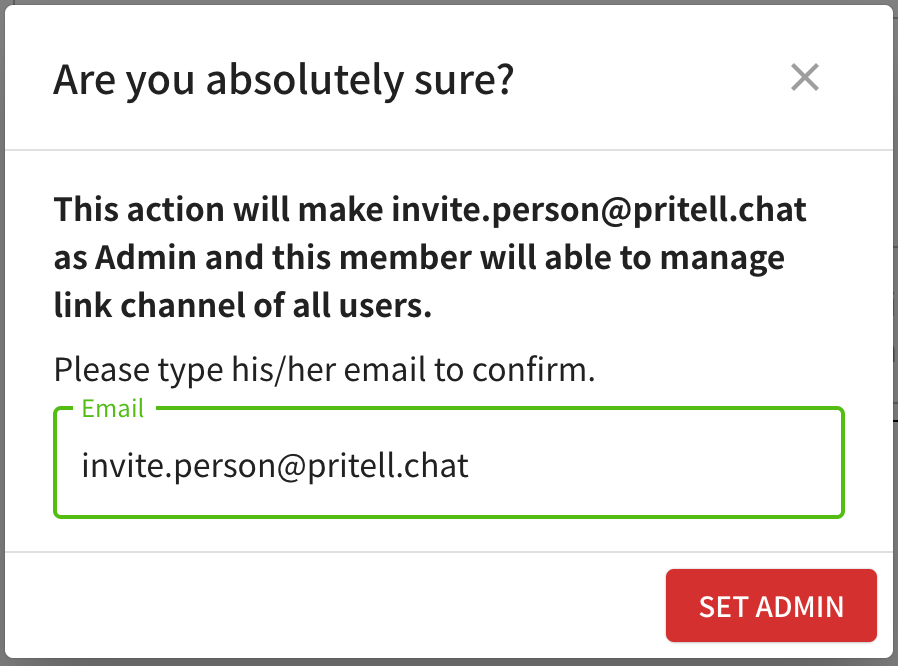
Unset user as admin in universal channels
-
Log into Pritell.
-
Select
Universal Channelson the lefthand sidebar. -
Select the universal channel.
-
Click on the e-mail of the member you'd like to demote into member status.
-
Click on
Unset admin.
-
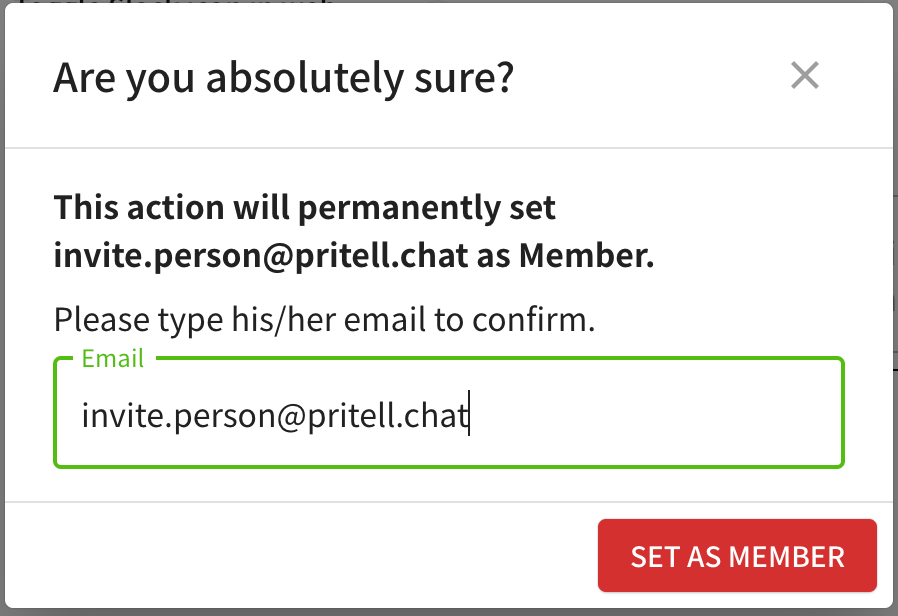
In the popup, type the e-mail of the member you picked for confirmation.
-
Click on
Set as member.